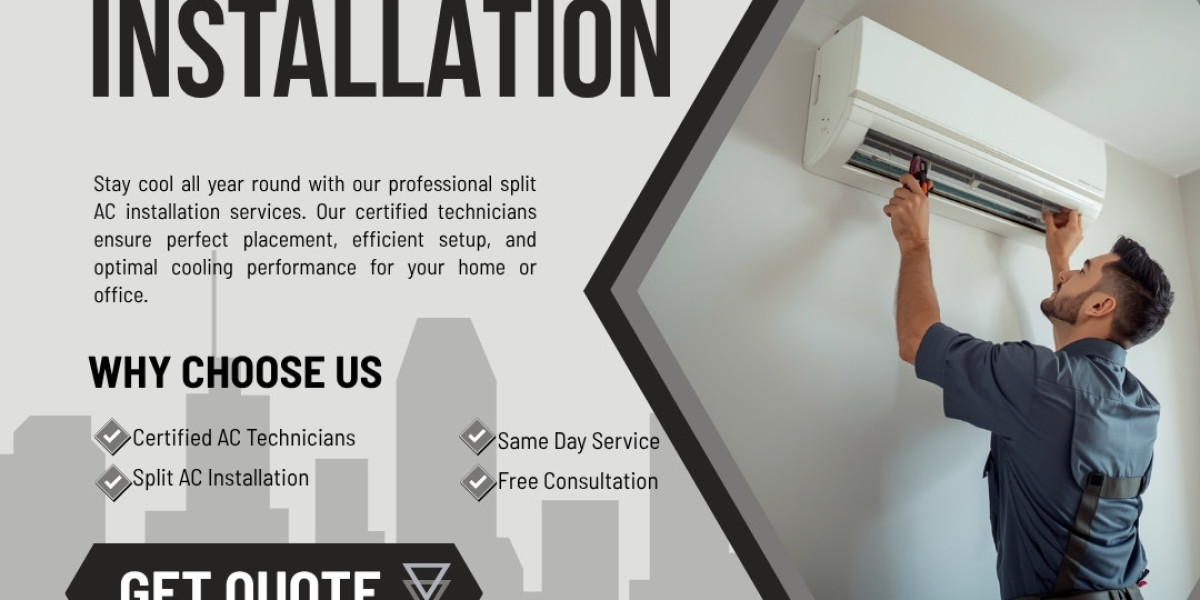
Installing a split air conditioner is one of the best decisions for achieving powerful and energy-efficient cooling in your home or office. However, proper installation plays a crucial role in ensuring optimal performance, durability, and safety. A poorly installed AC can lead to cooling issues, higher electricity bills, and frequent breakdowns. This is why professional split AC installation is highly recommended.
What is Split AC Installation?
Split AC installation involves setting up two main units of the air conditioner:
Indoor Unit – Installed inside the room to distribute cool air
Outdoor Unit – Placed outside to release heat absorbed from the room
Both units are connected through copper pipes, electrical wiring, and a drainage system. Proper alignment and setup are essential for smooth operation and maximum efficiency.
Importance of Proper Installation
Correct installation directly impacts the performance and lifespan of your split AC. Here’s why it matters:
Ensures efficient and uniform cooling
Prevents gas leakage and water dripping issues
Reduces energy consumption
Minimizes noise and vibration
Increases the lifespan of the AC unit
Even a high-quality AC unit may underperform if it is not installed correctly.
Steps Involved in Split AC Installation
Professional installation follows a structured process to ensure everything works perfectly:
1. Site Inspection and Planning
The technician inspects the room to determine the best location for both indoor and outdoor units. Factors like wall strength, airflow, and sunlight exposure are considered.
2. Mounting the Indoor Unit
A mounting plate is fixed securely on the wall, and the indoor unit is installed at an appropriate height for effective cooling.
3. Installing the Outdoor Unit
The outdoor unit is placed in a well-ventilated area, usually on a balcony or external wall, ensuring proper heat dissipation.
4. Connecting Pipes and Wiring
Copper pipes, power cables, and drainage pipes are connected between the indoor and outdoor units.
5. Vacuuming and Gas Check
The system is vacuumed to remove air and moisture, ensuring efficient refrigerant flow and preventing future issues.
6. Testing and Final Setup
The AC is tested to check cooling performance, airflow, and overall functionality.
Choosing the Right Location
Proper placement of both units is essential for effective cooling and energy efficiency.
Indoor Unit Placement Tips:
Install at a height of 7–8 feet from the floor
Keep away from direct sunlight and heat sources
Ensure unobstructed airflow
Avoid placing directly above electronic devices
Outdoor Unit Placement Tips:
Place in a shaded and well-ventilated area
Ensure firm and stable support
Keep away from dust and water accumulation
Maintain proper distance from the indoor unit
Common Mistakes to Avoid
Avoiding these common errors can save you from future problems:
Incorrect positioning of indoor or outdoor unit
Poor drainage setup leading to water leakage
Improper electrical connections
Skipping vacuuming process
Using low-quality installation materials
Professional technicians ensure that all these aspects are handled correctly.
Benefits of Professional Split AC Installation
Hiring experts for installation offers multiple advantages:
Accurate Setup – Ensures correct alignment and connections
Safety Assurance – Reduces risk of electrical or gas-related issues
Time-Saving – Quick and hassle-free installation
Warranty Protection – Many brands require professional installation to maintain warranty
Long-Term Performance – Improves efficiency and durability
Post-Installation Care Tips
After installation, proper care helps maintain performance:
Clean filters regularly
Schedule periodic servicing
Keep the outdoor unit clean and dust-free
Check for unusual noises or leakage
Avoid overloading the AC with extremely low temperature settings
Conclusion
Split AC installation is not just about placing units on a wall—it is a technical process that determines how well your air conditioner will perform over time. From selecting the right location to ensuring proper connections and testing, every step plays a vital role in achieving efficient cooling.
Investing in professional installation ensures that your split AC delivers consistent performance, consumes less energy, and lasts longer. With the right setup and regular maintenance, you can enjoy a comfortable and cool environment without any hassle.