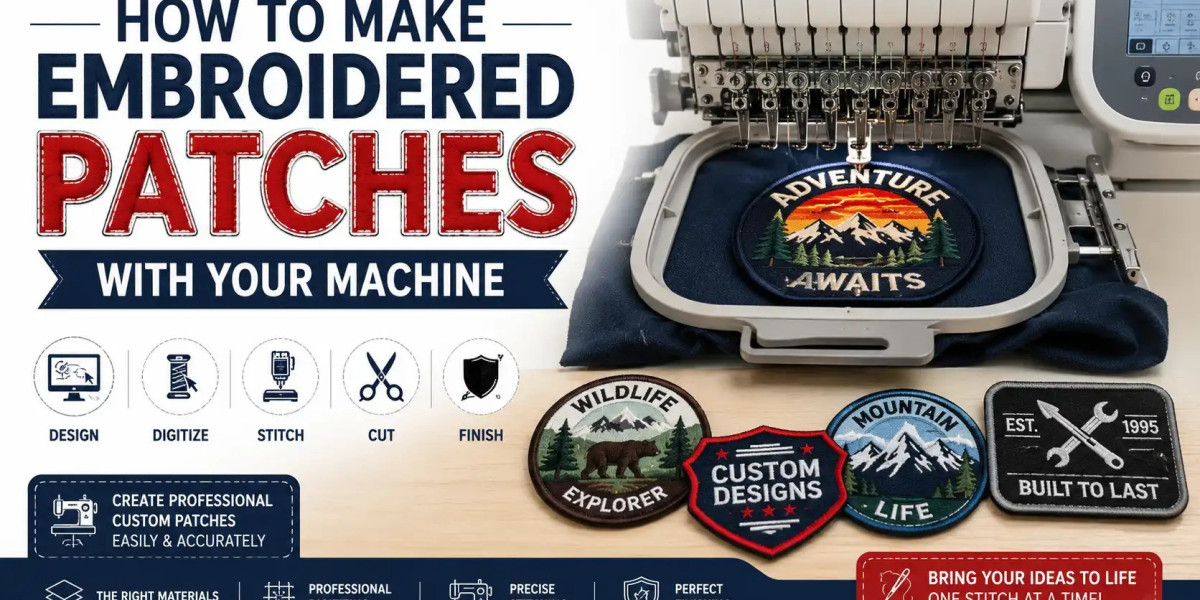

Embroidery patches have taken over the world of fashion, club merchandise, and corporate branding. They are everywhere—on denim jackets, baseball caps, backpacks, and even high-end runway pieces. What makes them so special is their ability to add texture, personality, and a premium feel to any garment. If you have ever wondered how to make embroidery patches for your own use, you are in the right place. Whether you are a designer looking to launch a clothing line, a club president wanting custom badges, or a business owner seeking durable branding, this guide will walk you through every step of the process.
Learning how to make embroidery patches is not as complicated as it might seem. While professional patch-making involves specialized machines and software, the core principles are accessible to anyone willing to learn. From designing your artwork to choosing the right materials and finishing techniques, this guide covers everything you need to create stunning, durable patches that will make your brand or style stand out.
Step 1: Design Your Patch with Purpose
The first step in creating any patch is the design. This is where your creativity takes center stage. However, it is important to remember that embroidery has its limitations. Unlike digital printing, embroidery uses thread, so intricate details, tiny text, and complex gradients do not translate well.
Keep it bold and simple. Use solid colors and clear shapes. Text should be at least a quarter of an inch tall to remain readable. If your logo has fine lines or small elements, consider simplifying them or enlarging the overall patch size. For clubs and businesses, the design should clearly communicate your identity—whether it is a mascot, a monogram, or a catchy slogan. For fashion, think about what looks good on a jacket or bag. Bold graphics and retro fonts are currently very trendy.
Once you have a design, create it in a digital format. A high-resolution PNG or, even better, a vector file (like AI or EPS) will make the next steps much smoother.
Step 2: The Crucial Step of Digitizing Your Artwork
This is the most technical and important part of the process. An embroidery machine cannot read a standard image file like a JPG or PNG. It needs a stitch file that tells it exactly where to place each needle punch. The process of converting your design into this machine-readable format is called digitizing.
During digitizing, a skilled operator uses specialized software to map out the design. They decide which parts get satin stitches (for borders and letters), which get fill stitches (for large areas), and which get running stitches (for fine details). They also add underlay (a hidden foundation) and pull compensation to prevent the fabric from distorting.
If you do not have the software or experience, you can hire a professional digitizing service. Many reliable providers, such as Needle Digitizing, specialize in converting artwork into embroidery files for patches. They will ask about your fabric, desired size, and thread colors to tailor the file specifically for your project. This step is an investment that ensures your patch turns out exactly as you envisioned.
Step 3: Gather Your Materials and Prepare Your Fabric
With your digitized file ready, it is time to gather the physical materials.
- Base Fabric: The most common fabric for patches is twill, a durable, tightly woven cotton or polyester blend. Felt is another popular choice because it does not fray, making it excellent for DIY projects.
- Stabilizer: This is a backing material that supports the fabric during embroidery, preventing puckering and stretching. For patches, a cutaway stabilizer is often recommended because it remains permanently attached, providing structure.
- Thread: Polyester thread is the industry standard for its strength, durability, and colorfastness. Rayon thread is also popular for its high sheen, though it is less durable.
- Hoop: You will need an embroidery hoop that fits your machine and is appropriate for the size of your patch.
Once you have your materials, prepare your fabric. Hoop the fabric with the stabilizer tightly, ensuring there are no wrinkles. This tautness is critical for preventing the design from shifting or distorting during stitching.
Step 4: Embroider Your Patch Design
Now, the fun part begins. Load your digitized file onto your embroidery machine. Align the needle with the center of your hooped fabric and start the machine.
The machine will stitch the design according to the digitized file. For a standard patch, the process will typically include a placement stitch, the main embroidery, and then a border stitch. The border, often a dense satin stitch, is what gives the patch its finished, professional edge.
This step requires patience. Let the machine run its course and avoid the temptation to adjust the fabric while it is stitching, as this can cause misalignment. Once the machine finishes, carefully remove the hooped fabric.
Step 5: Trimming and Finishing the Patch
The embroidery is complete, but the patch is not yet ready to use. It needs to be cut out and finished. If you used a cutaway stabilizer, carefully trim the excess stabilizer from the back of the patch, leaving a small margin around the stitches.
Next, cut the patch out of the main fabric. If you have a merrowed edge machine, you can use it to sew a tight, raised border around the patch, which gives it a classic, professional look. However, for DIY projects, you can achieve a neat edge by using a zigzag stitch on a standard sewing machine or by carefully cutting around the satin border, leaving about an eighth of an inch of fabric beyond the stitches.
Step 6: Choose the Right Backing for Your Patch
The backing determines how the patch will be attached to a garment. Choosing the right one depends on its intended use.
- Iron-On Backing: This is the most convenient option. A heat-activated adhesive is applied to the back of the patch. You can attach it using a household iron, making it perfect for quickly customizing fashion items or distributing promotional patches.
- Sew-On Backing: This is the most durable and secure option. The patch is sewn directly onto the garment. This is the best choice for workwear, heavy-use jackets, and uniforms that will be washed frequently.
- Velcro (Hook & Loop) Backing: This allows for patches to be easily removed and swapped. It is ideal for tactical gear, uniforms where patches need to be changed (like name tags or rank), or for collectors who like to switch up their style.
- Sticky/Pin Backing: For temporary placement or non-fabric surfaces, a sticky or pin backing can be used.
Step 7: Apply Your Patch to the Final Product
The final step is to apply your patch. If you chose an iron-on backing, place the patch on the garment, cover it with a thin cloth, and press with a hot, dry iron for 15-20 seconds with firm pressure. For sew-on patches, use a needle and thread to stitch around the border, making sure to catch the base fabric securely.
Conclusion
Making custom embroidery patches is a rewarding process that blends creativity with technical skill. From designing a bold logo to digitizing the file and choosing the right materials, each step plays a crucial role in the final quality of your patch. Whether you are adding flair to a fashion piece, uniting a club with a custom badge, or promoting your business with durable branding, patches offer a versatile and professional solution. By following this guide, you are well on your way to creating patches that are not only beautiful but also built to last. So, gather your materials, fire up your machine, and start stitching your story onto the world.